Showing posts with label crafts. Show all posts

Monday, December 16, 2013

DIY Personalized Candle ....Easy to make Christmas Present


These are our Christmas Presents to " The Grandma's..."
They could be for anyone, Valentine's Day, Teachers, Friends, Mother's Day....
Easy and Fun to make:
Supplies needed:
Candle
Wax Paper
Markers
Tape
Scissors
Tissue paper (like you wrap presents in)
Plain paper
Tape
Blow Dryer
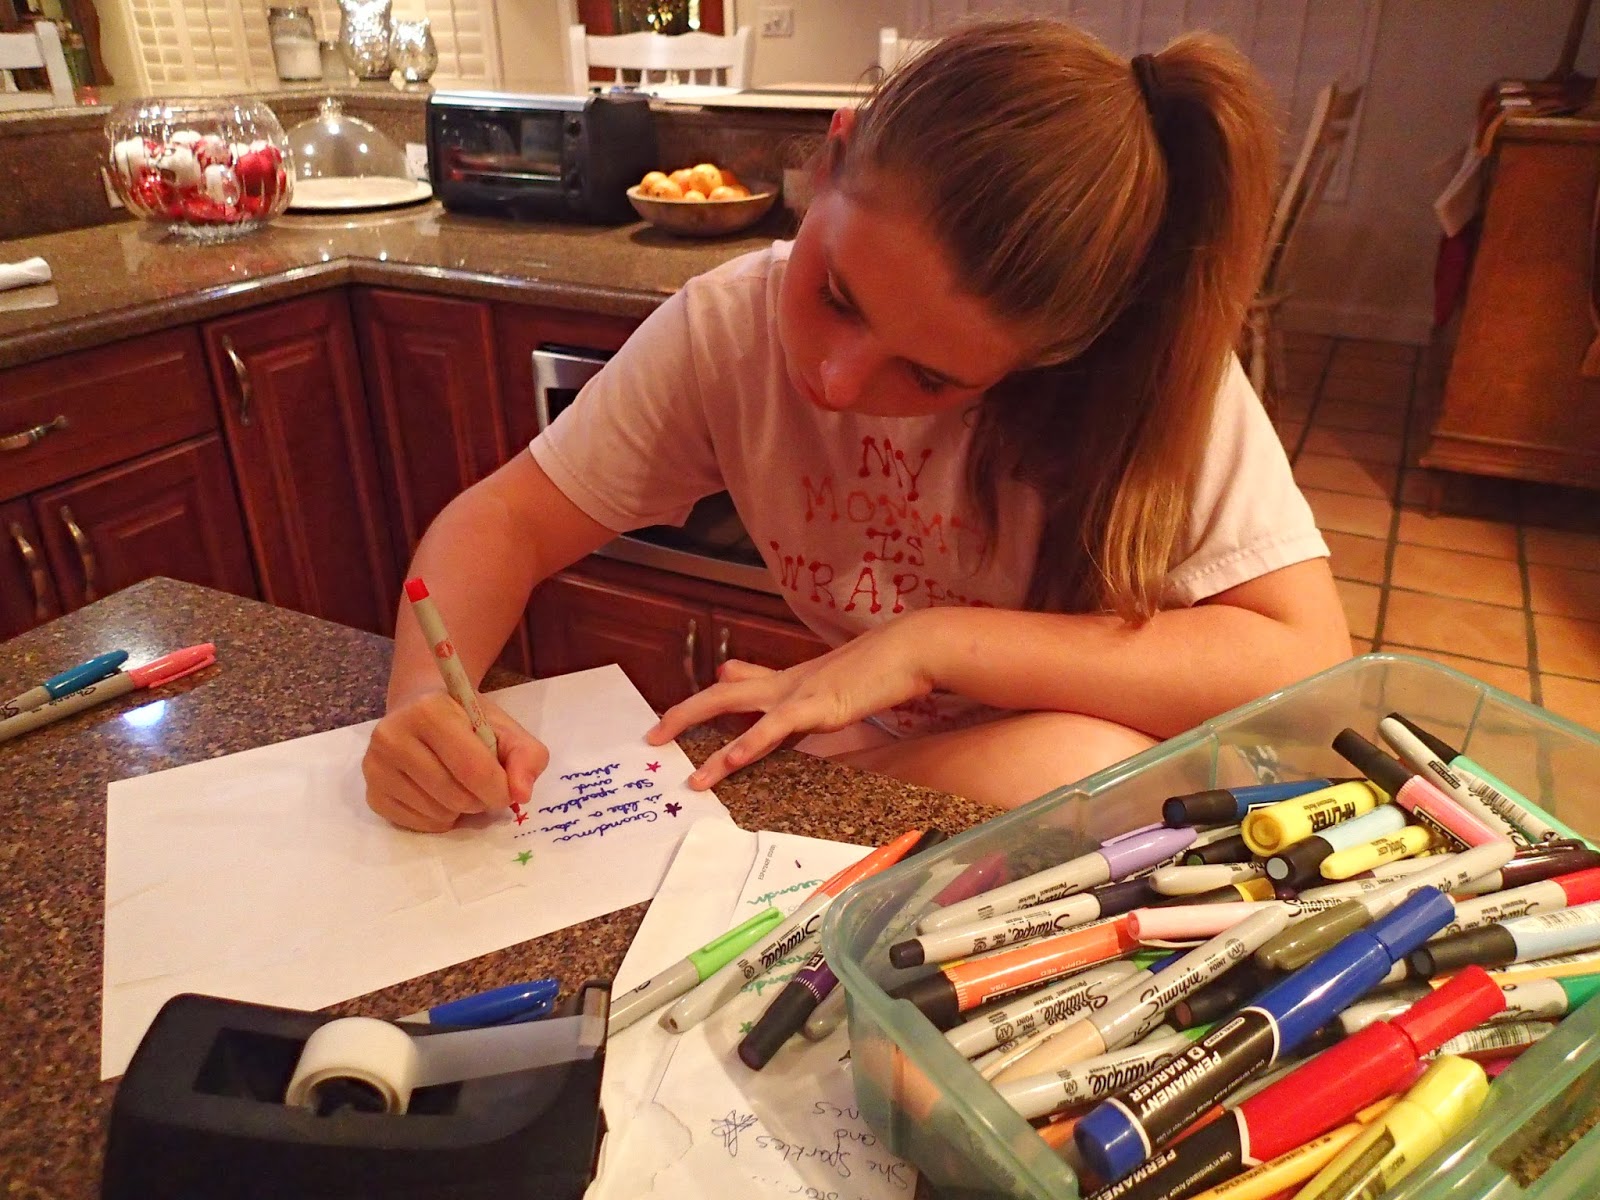
Tape tissue paper to plain paper (you need the paper under the tissue paper so the markers won't bleed through and ruin your counter!) 
Draw....Anything...be creative!!!!
now remove the tissue paper from plain peer, and cut around your design...cut as close as possible to your design


Now, take your design and place on candle. Take a piece of wax paper and wrap around your art work, hold the wax paper tight, then use  your blow dryer to melt the wax from the wax paper to cover your design, to help it stick to the candle! Keep the blow dryer moving back and forth, gently melt the design to your candle. (Be careful, the blow dryer gets hot, and it's hard to hold your candle!
Ta Da....Here are our special presents....
Made with Love!
xoxo


Tuesday, July 16, 2013

Anchor Tote Bag DIY

Summer Craft Day
We made Anchor Tote Bags. We saw these cute Anchor Totes on Pinterest, and made them for my Daughter's Coaches and Friends on her Water Polo Team.
Supplies needed:
Freezer Paper (has wax on one side)
iron
Fabric Paint (we used Martha Stewart's all purpose Paint, the Pearlized Paint in Aqua colors)
Canvas Tote Bags from Michael's (3 for $9.99...with a 40% off Coupon!)
Pencil with a New Eraser on top
Click HERE for the anchor pattern we used
First trace anchor or design on Freezer Paper. Then cut out shape so you have a stencil on the wax paper. Iron Freezer paper to tote, t-shirt or whatever you are painting. (The freezer paper will peel right off when finished)...and you will have a clean line
Now time to paint! Using the eraser of pencil, Paint with Dots of color for an Ombre Effect!!!!
Let the bag Dry over Night!
I love the way they came out!
Click here for original Tutorial.


Tuesday, June 26, 2012

July 4th Washi Tape Art


This was very easy and fun to make!
My daughter made it from "Washi Tape", I thought it was Wasabi Tape!!!!
Basically it is tape with prints on it, but it is handy and fun!!!!
I originally saw this idea and tutorial on Pinterest from 52 Mantels,
she has a great tutorial and other ideas on her blog. 
Here are the rolls of "Washi Tape" from Target, I bought the red and blue,
each comes with 4 rolls for $4 each. They are in the office products aisle.
Michaels and Joann's have Washi Tape as well.
I like the mixture of the flag with starfishes...I heart summertime!


Saturday, February 25, 2012

Make a Shamrock Banner

An easy craft from the Crafting Chicks
Supplies:
ribbon, scrap paper in shades of green or all green, the choice is yours!
stapler and glue or glue dots
cut into strips
fold into hearts and staple at heart point
now you will need to make 3 more hearts....
glue all 4 hearts to make a lucky shamrock
place holes in top of shamrocks and thread ribbon through shamrocks
you need around five shamrocks to make a banner, make as many as you want!
Happy St. Patty's Day
xoxo
Thursday, February 23, 2012

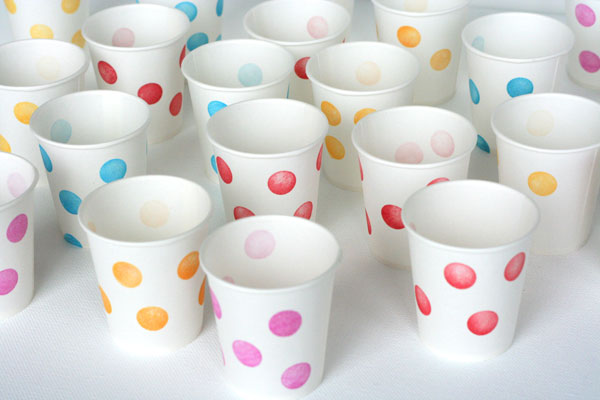
Make your own Party Cups!

What an easy and GREAT idea!
Make your own Party cups!!!
Any color, any pattern, for any celebration... 
Oh Happy Day! shared this cute tutorial.
Materials needed: plain paper cups, your choice of colored stamp pads and a simple stamp shape (you can even make your own with a potato stamp)

Step One: Test your stamp out on a piece of paper.
Step Two: Insert a cup into the cup you are stamping, this way you can put your hand inside the cup while stamping.
Step Three: Stamp away!


Friday, February 10, 2012

Candy Heart Barrettes

Easy and Fun!
We made Conversation Heart Barrettes...
Simply hot glue candy hearts to plain barrettes


My Daughter;s Birthday is Valentine's Day...How perfect are these to share with her friends?
xoxo

Sunday, January 29, 2012

Sweetheart Candy Wreath

Cousin Jen and Cousin Lil O made this beautiful Candy Heart Wreath!
Cousin Jen has a blog "Upcycled Education", I shared  a link with her a couple of days ago for Classroom Valentine Treats (sending more ideas to her soon!) Now it is her turn to share a craft with us!
Instructions:
It is super duper easy to make.  Start with a round wreath form,  Then  wrap the wreath in strips of pink tissue paper.   Hot glue  rows of Sweethearts on all sides and finish it off with a pink ribbon.
I found that it was easiest to make one row of hearts all the way around the wreath, and then move on to the second and third rows (rather than gluing three across, then three below that row, and repeating the process all the way around the wreath).

xoxo


Thursday, December 15, 2011

Reindeer Thumbprint Ornaments and Snowman Handprint Ornaments

A simple Family Craft!
We made Reindeer Ornaments with Thumbprints and Snowman Ornaments with our Hand Prints!
Very Easy and Inexpensive...
Glass Ornaments (all on sale now!), inexpensive paints, and a sharpie (we used an empty egg carton as a drying rack.
this project is originally from Little Bit Funky and I merged her "professional photos" with our family photos!
We made our reindeers using white ornaments (the pretty photos are from Little Bit Funky, and they used blue!)

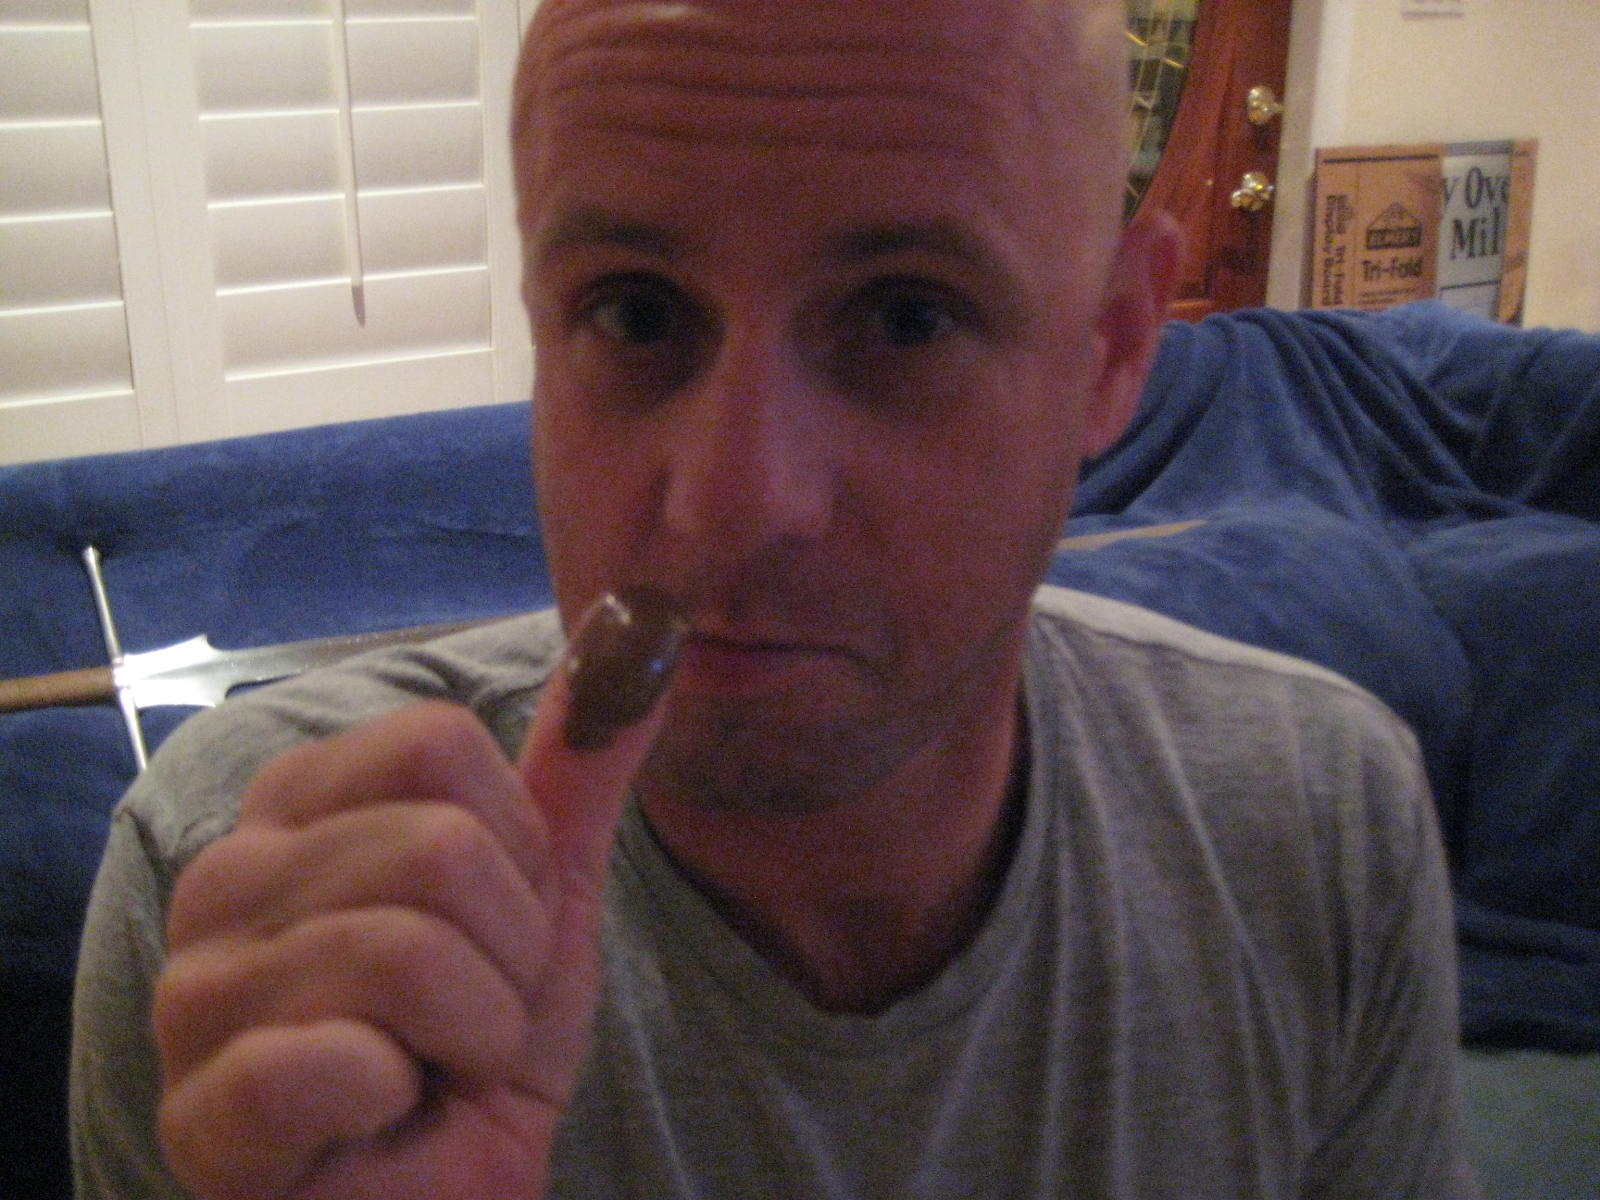
brown paint on finger (hello FBI!)


Sharpie Eyes...
Sharpie marker name and age is a great idea!
Sharpie Antlers and red paint nose....
that is all!
Now for the Handprint Snowman Ornaments:
Once again, the Red Snowman Ornaments are what we made and the pretty tutorial photos are from Little Bit Funky

hand print on ornament...
Sharpie Hats, scarf, face, scarf, etc...and a small orange paint nose!

Thank you Little Bit Funky for a Cute family Craft night!
xoxo